Here’s my guide to turn a pillowcase into a little girls summer dress or nightie. You don’t need very much to make this and you could get your little one involved in choosing the colours and trim that you add. If you don’t have a little one to make for, you could make for the charity “Little Dresses for Africa” who take dress donations and send them to Africa for girls who need them.
You will need:
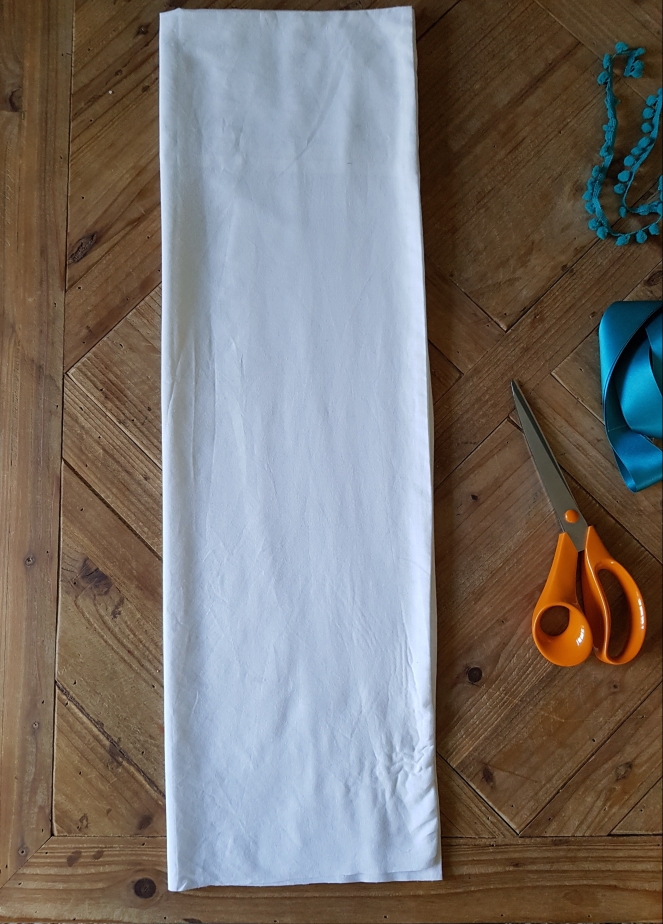
A pillowcase
3 metres of 1″ ribbon
1 metre of trim (optional)
Scissors
Tape measure
Needle and thread (or sewing machine)
Step 1 – Cutting out
Lay the pillowcase out flat in front of you with the open end at the top, furthest away from you.
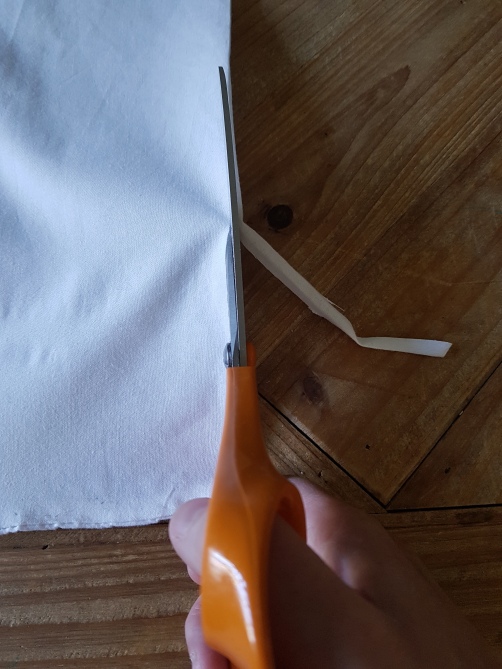
Next, trim the closed end at the bottom, so that you now have an open seam at the bottom end.
Now fold the pillowcase in half, lengthways, as shown, so the fold is on the left.
The measurements that come next have made a dress that has in fact come up a little big for my niece who is 4 years old. To make the dress smaller, smaller armholes could be made and more gathering could be added to the front and back panels (see further instructions further on in this blog). The following gives a sizing idea:
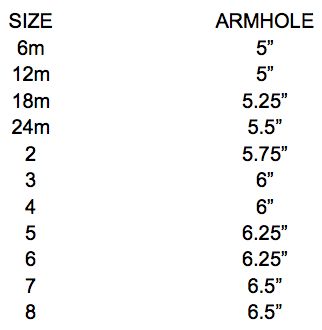
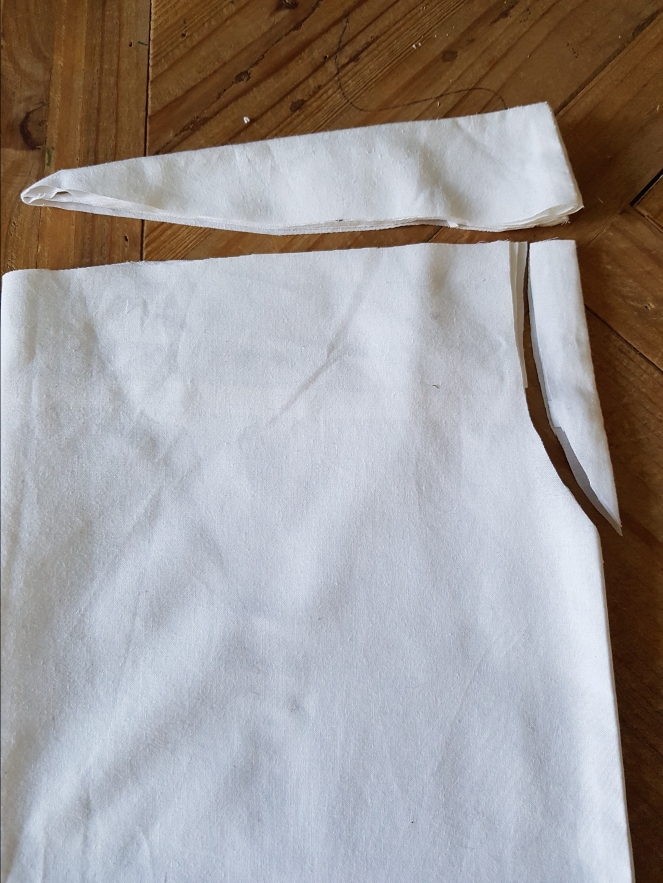
With the folded seam on the left, measure down 2 inches on the right and cut across to the top left point. Then measure down 5 inches from the top and cut the arm holes. You’ll end up with two pieces like below.
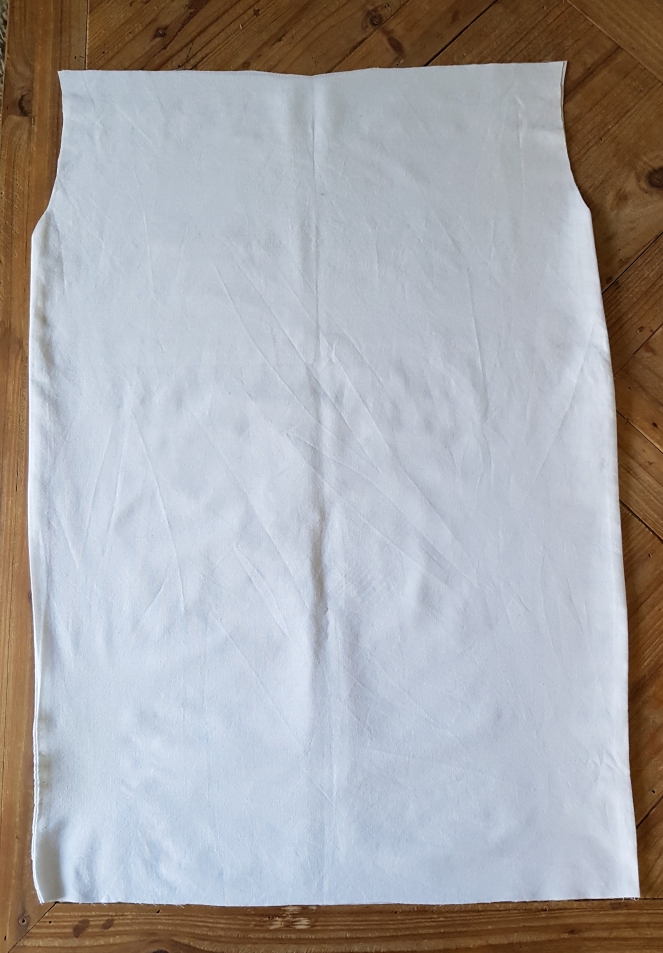
Open your pillowcase out and it should look like this.
Step 2 – Adding the ribbon
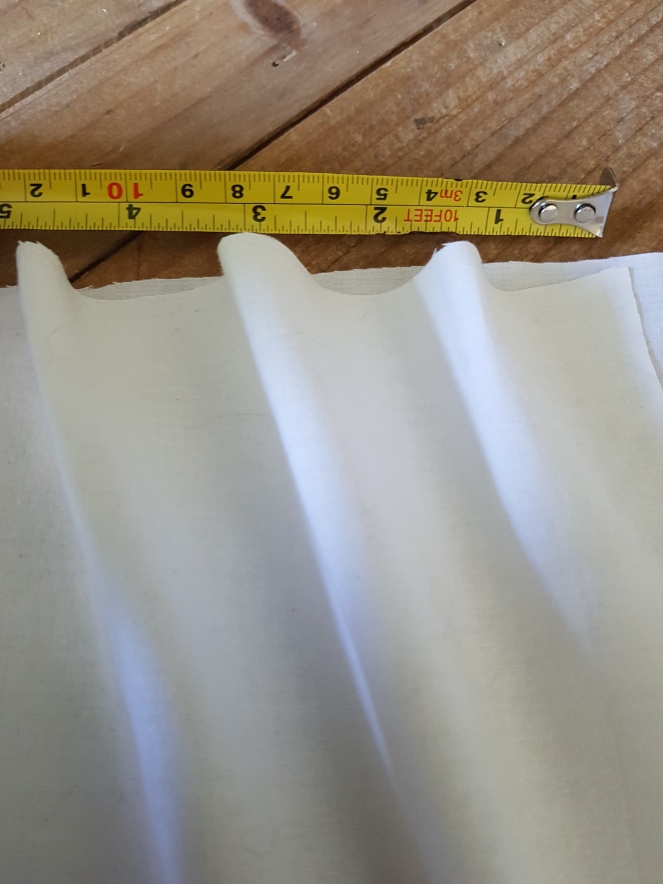
Next you’ll be gathering the front and back panels that will sit across your child’s chest and back. I took in a gathered pinch every 1.5″, but you could put them closer together so that you end up with a narrower width.
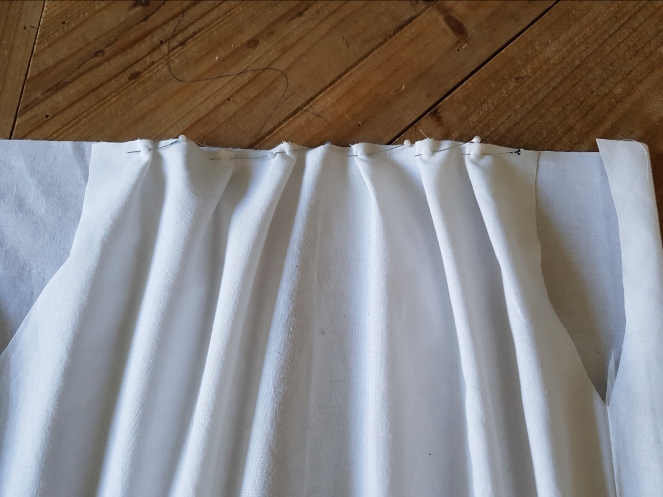
Pin your gathers into place on the front and back.
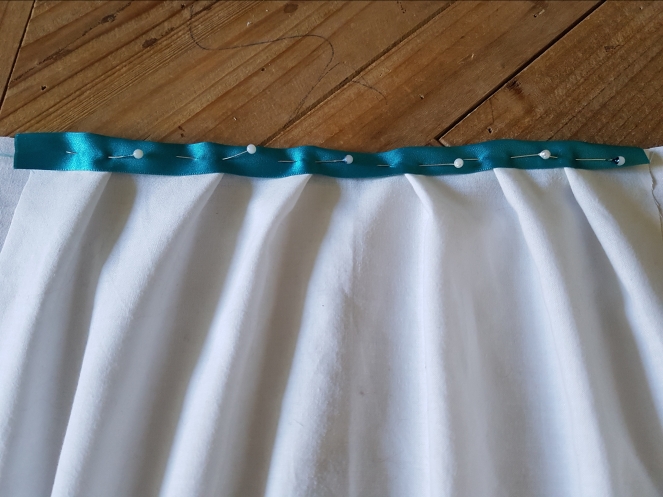
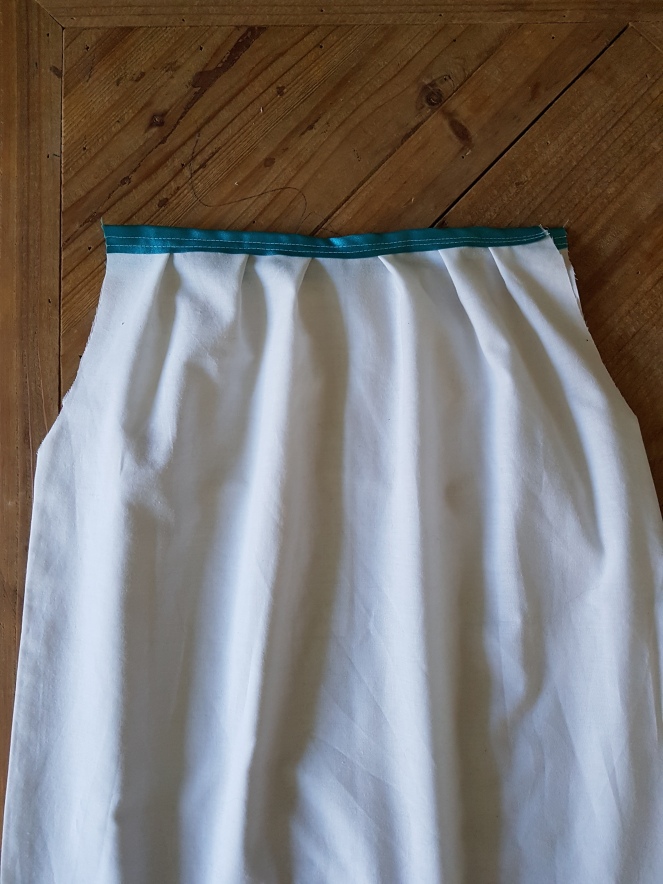
Next, cut some ribbon the width of your newly gathered dress and fold over the top to cover the edge of the pillowcase and pin into place.
Now sew along the ribbon on the front and back piece of the dress.
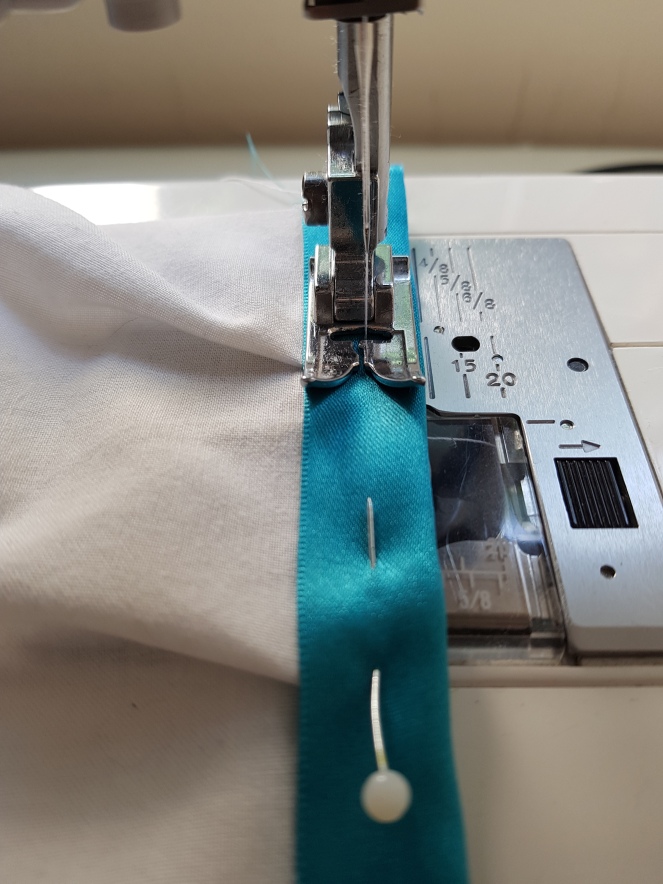
Your top edges will now look like this. I’ve used two rows of stitching, but you could do one or a zig-zag in a contrasting colour if you wanted to.
Step 3 – adding the ribbon ties
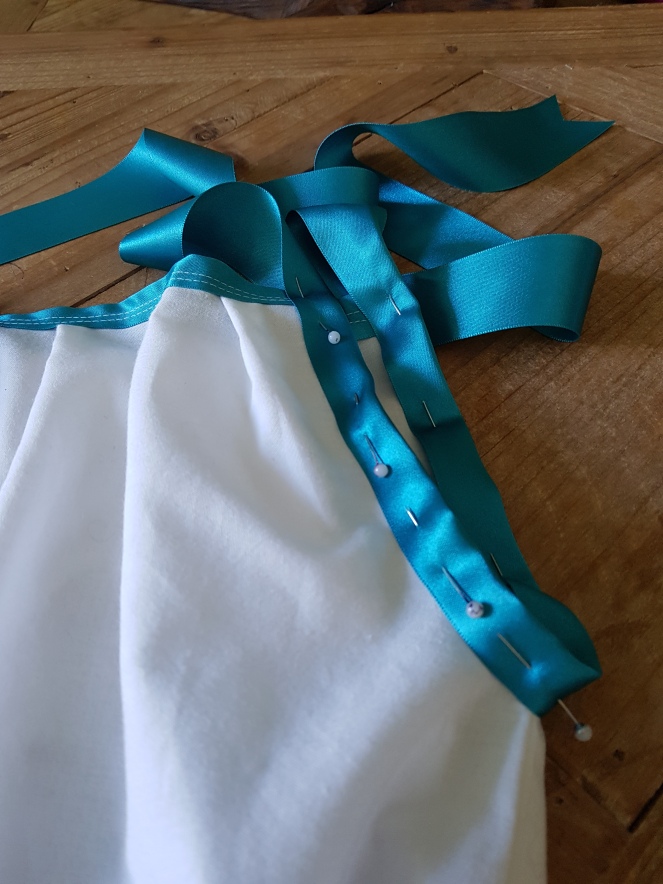
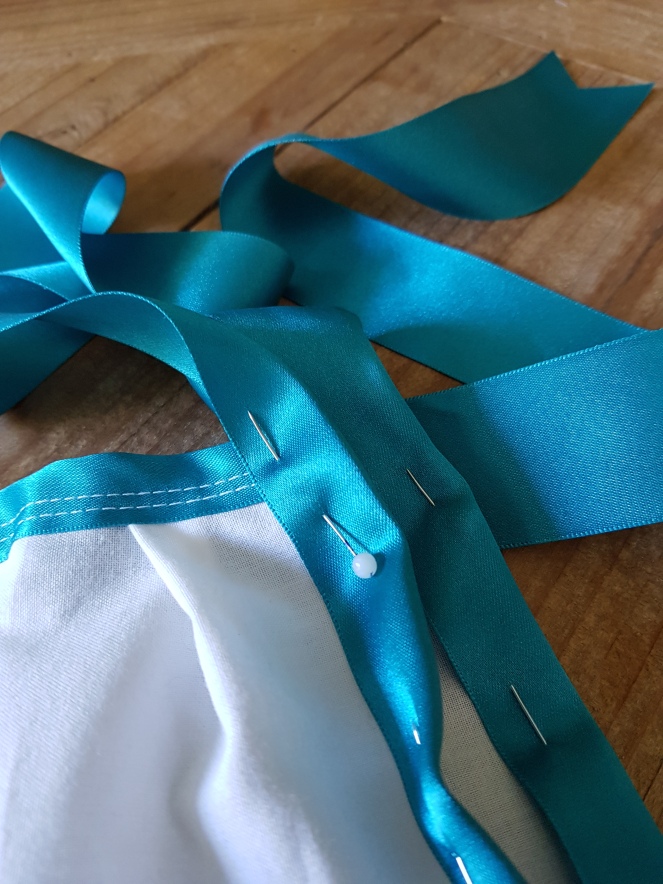
Next step is to pin lengths of ribbon over the armholes openings and leave enough length on the ends to tie a bow over the child’s shoulders. You’ll find this then covers in the raw edges of the front and back panels previously sewn.
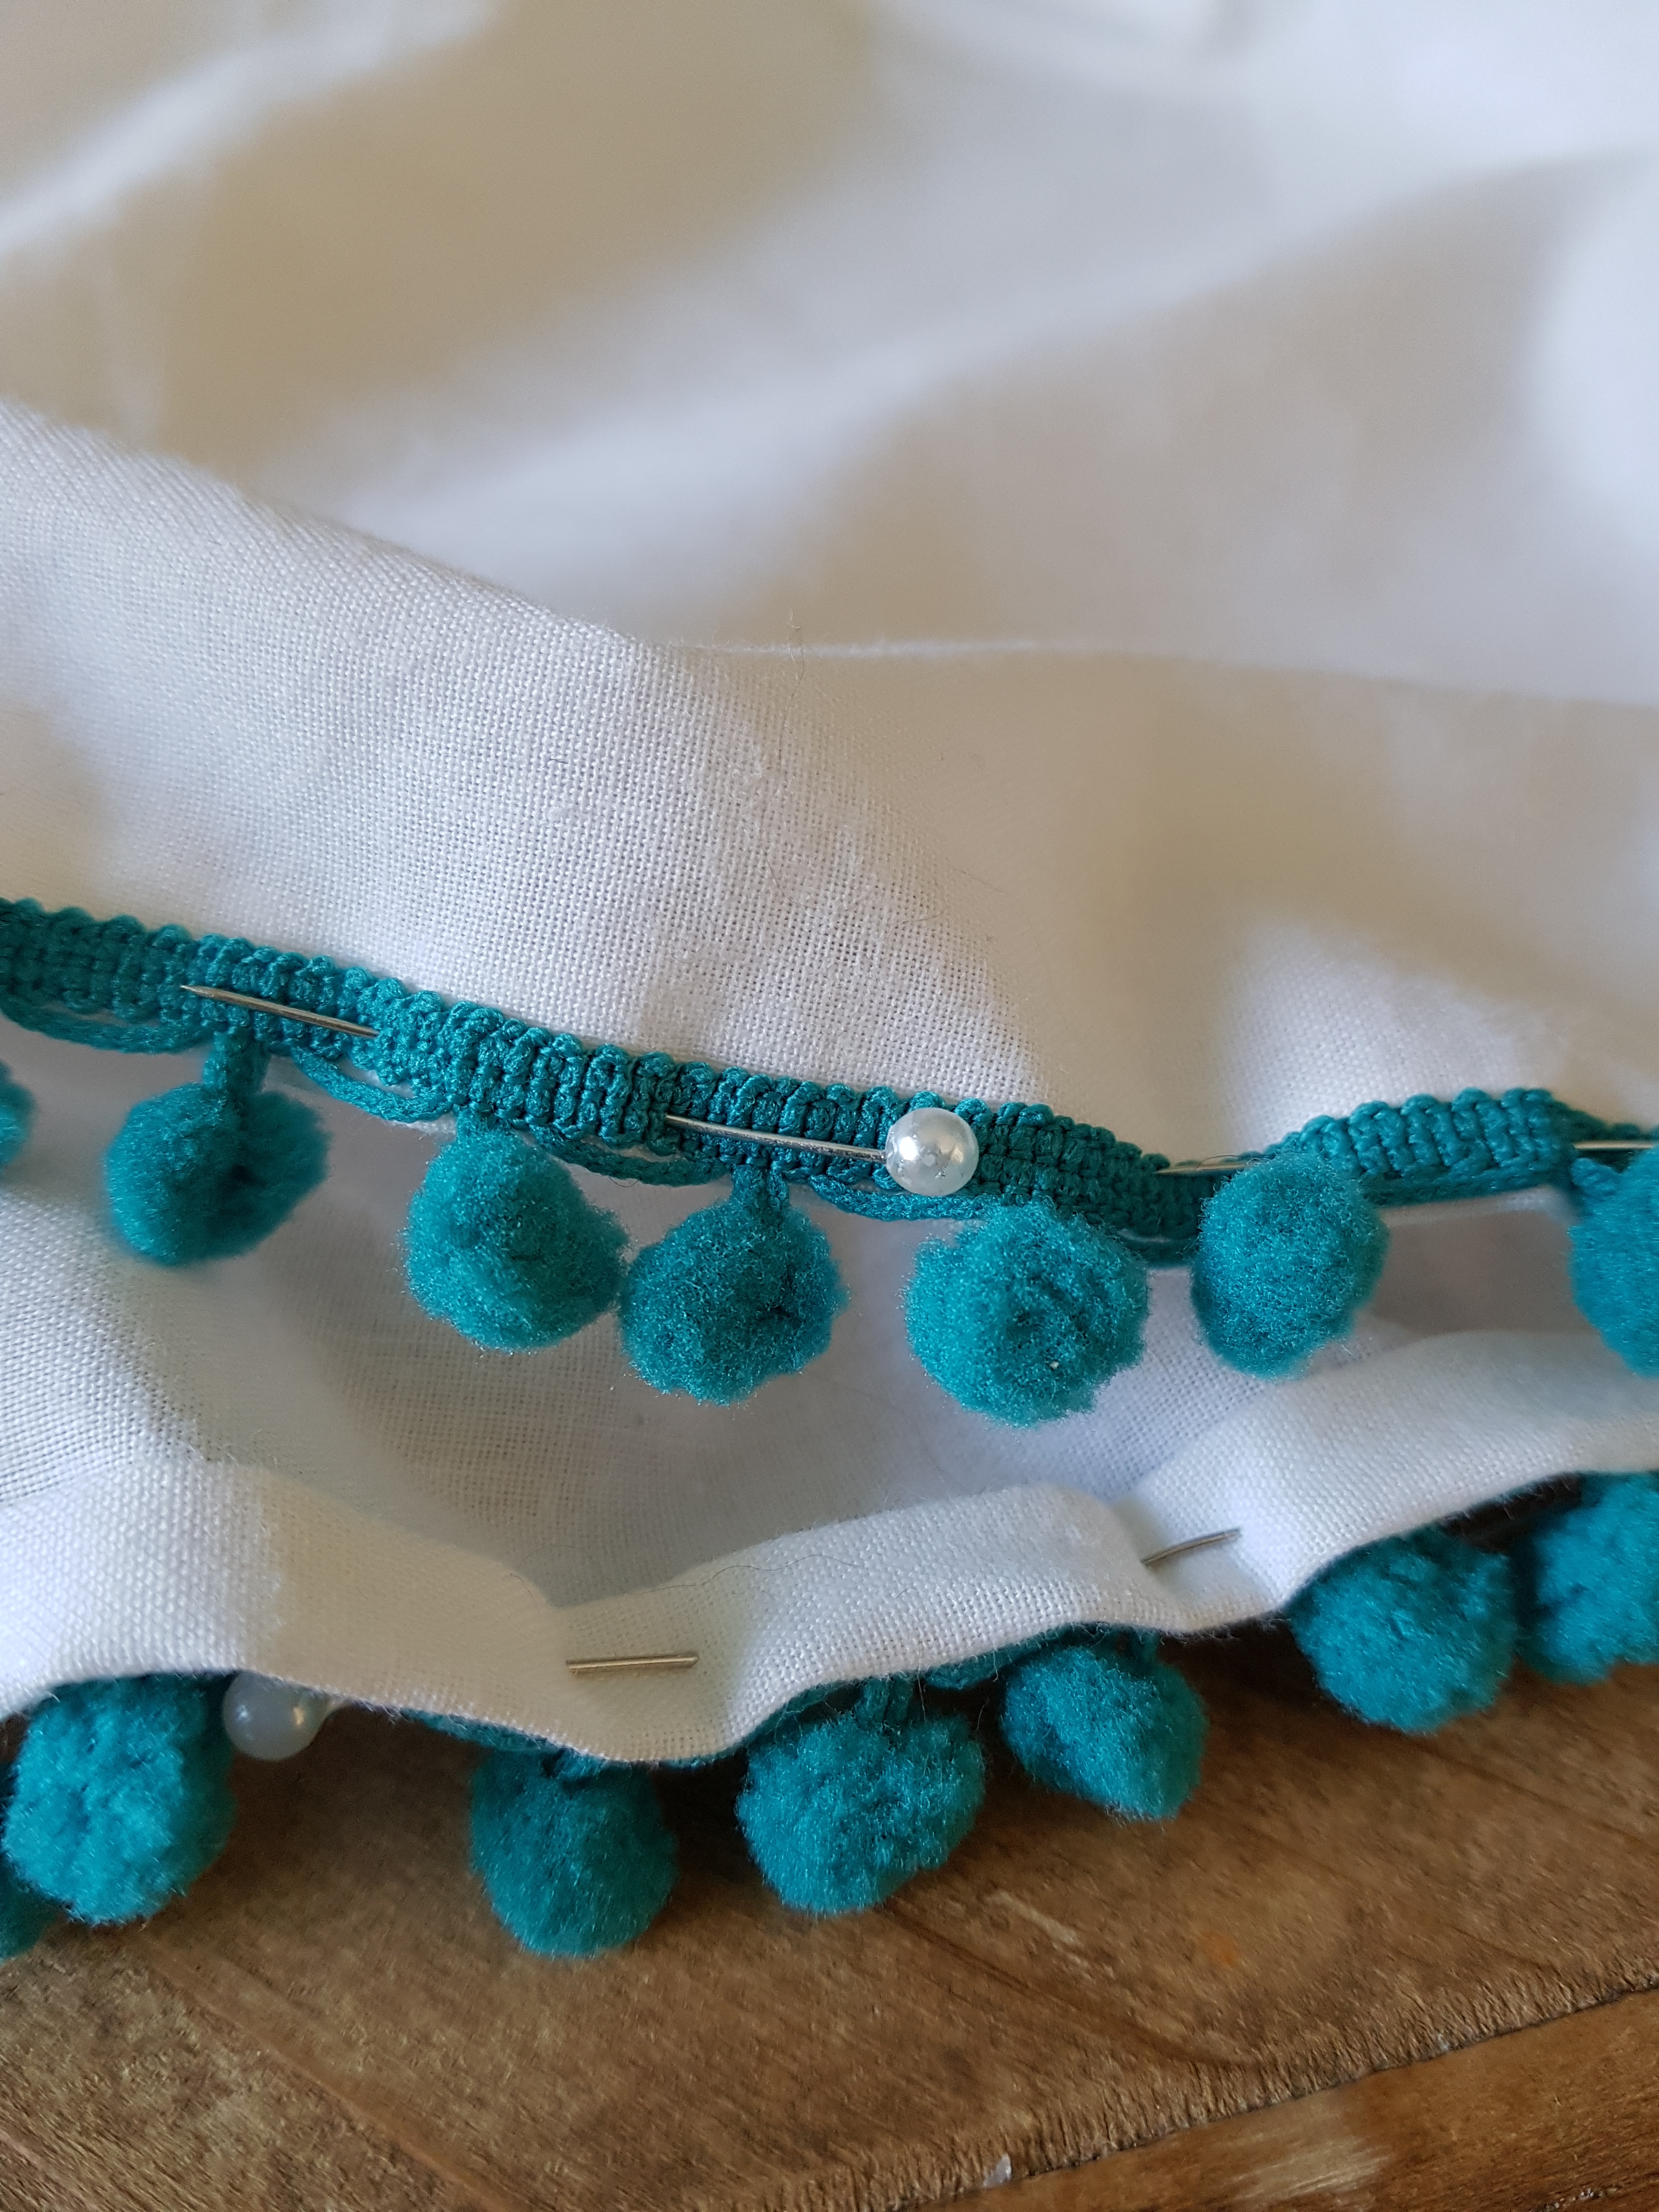
Step 4 – the hem and trim
All that’s left to do is hem the bottom of the dress. I added in some pom pom trim too. But you could leave it plain or add lace or more ribbon.
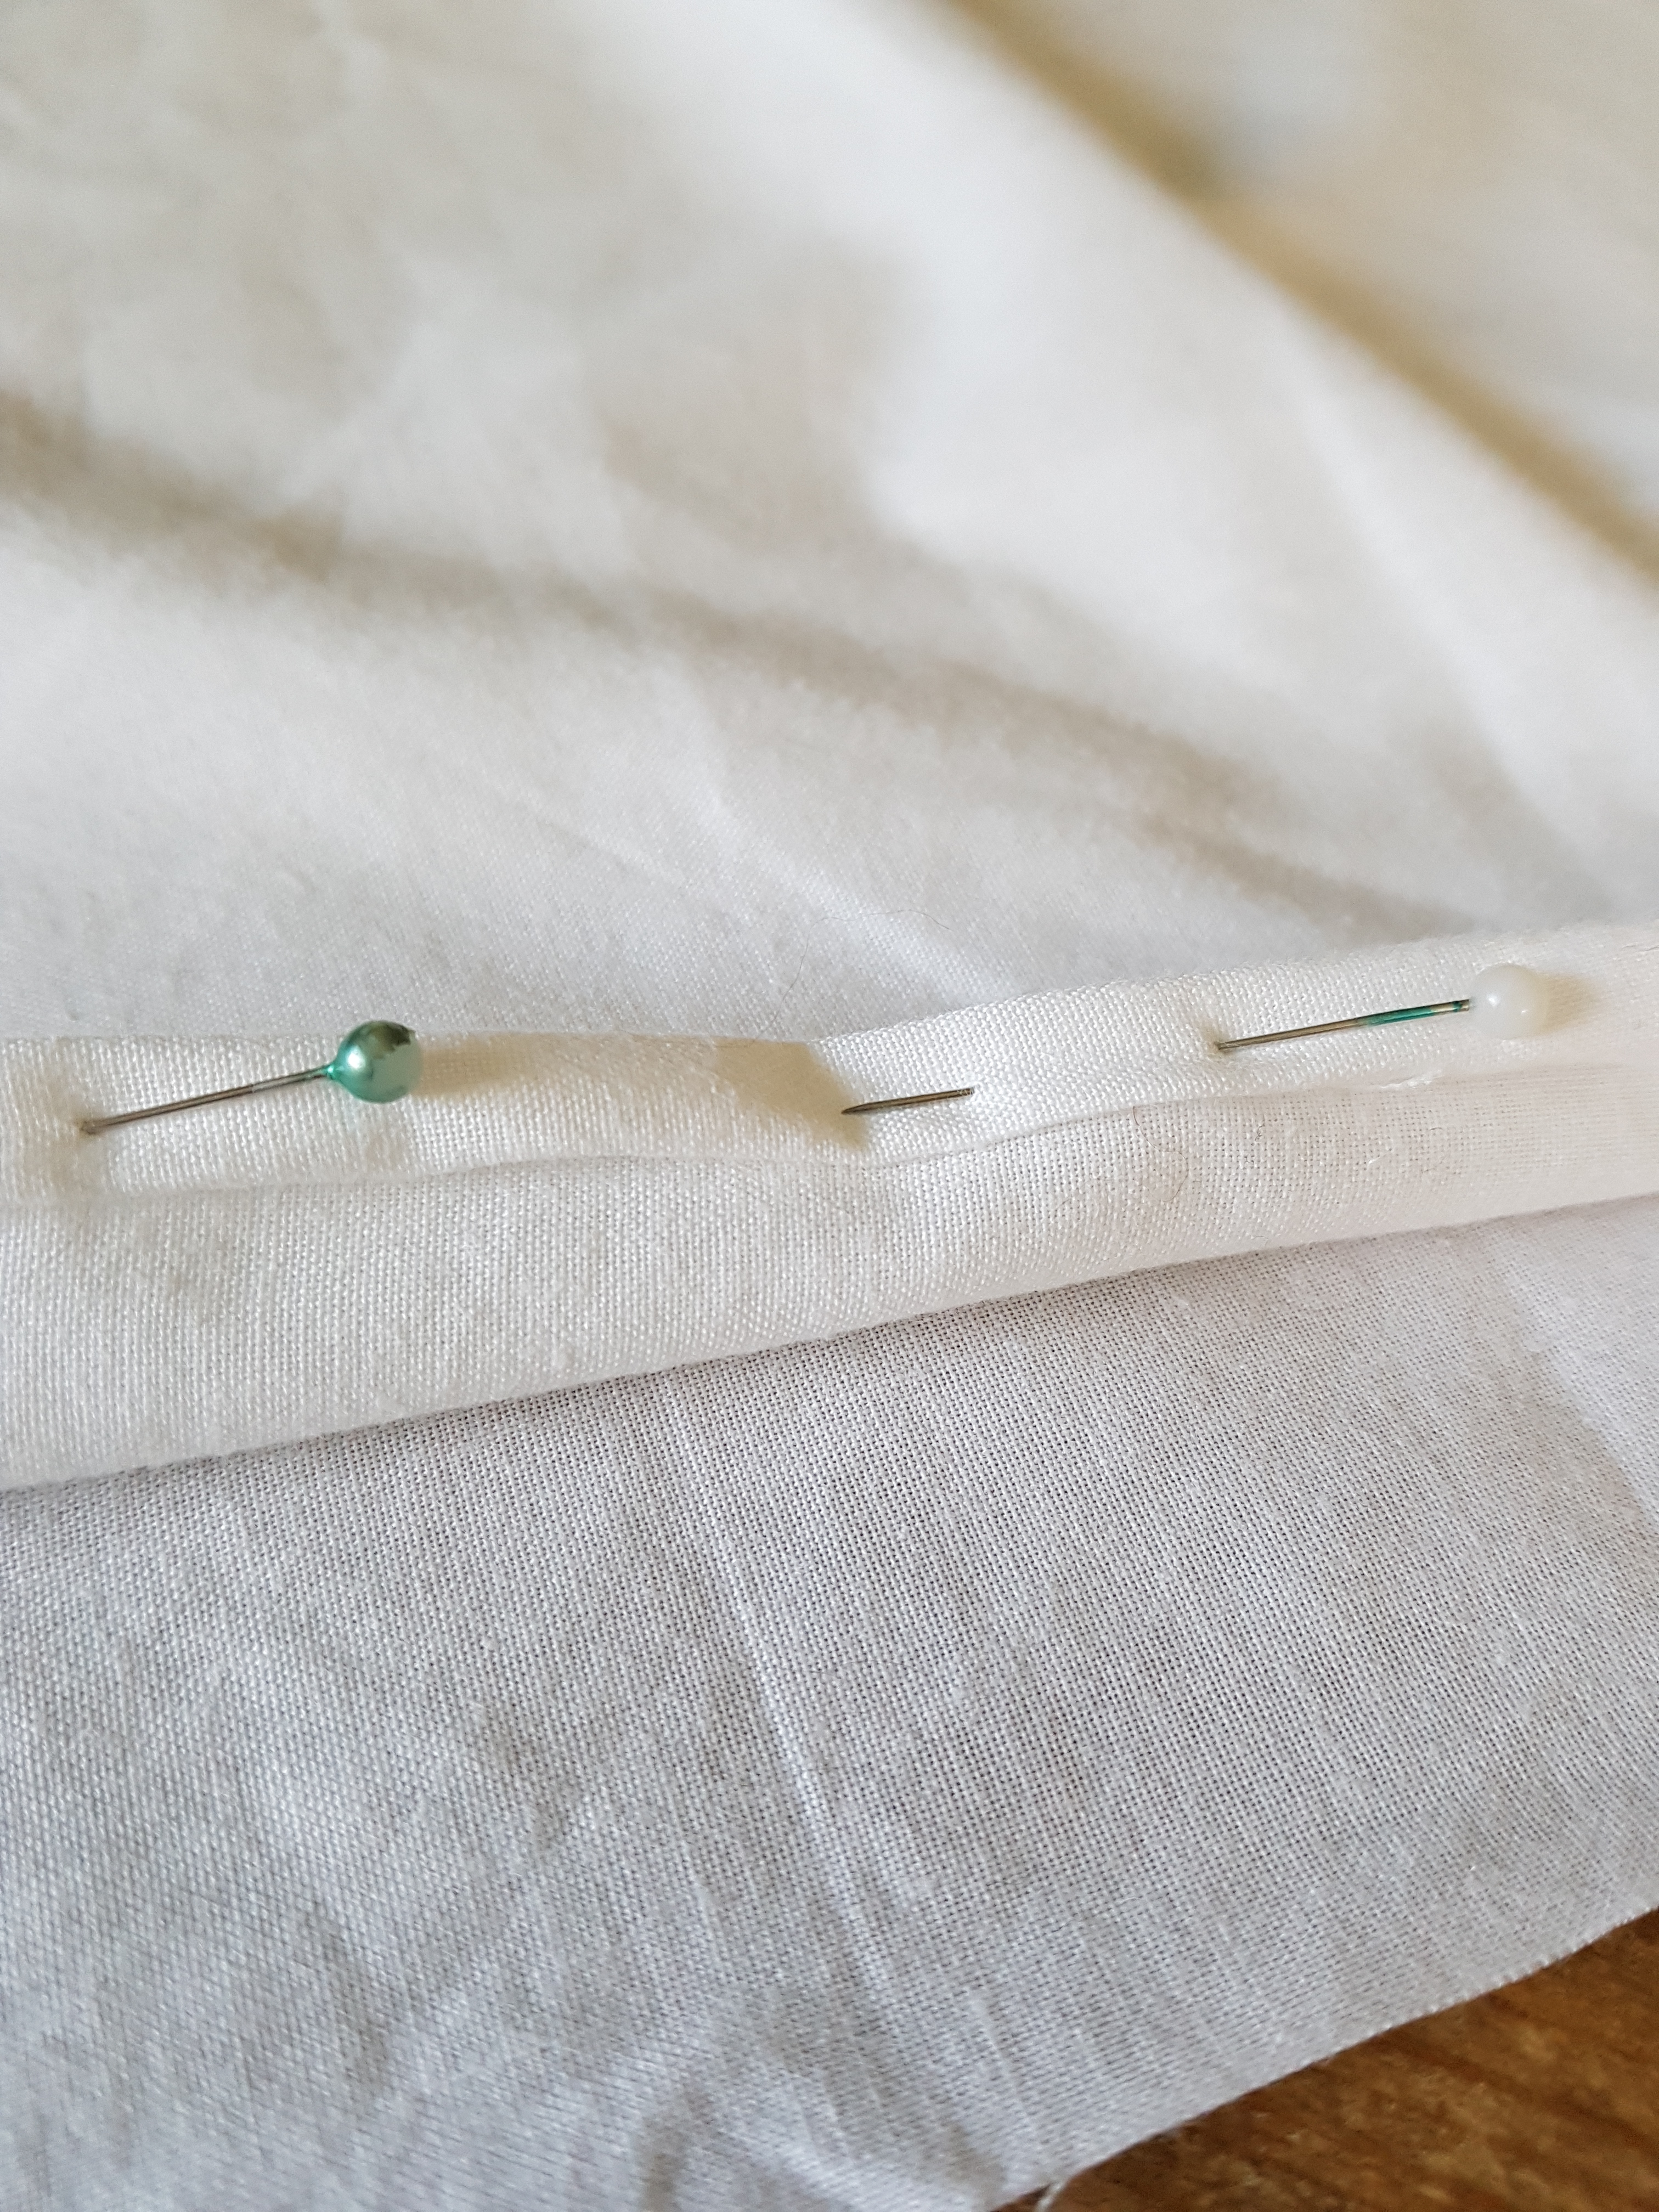
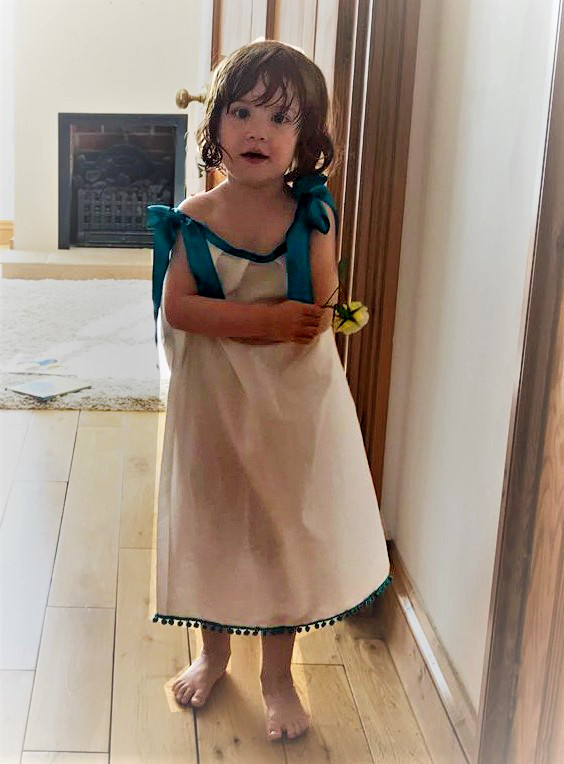
Sew up the hem and trim and Ta Da!, your dress is finished. Special thanks to my niece, Connie for modelling the finished dress for this blog.
For more ideas on upcycling and customising clothes, check out my Pinterest Board, ‘Customizing‘.
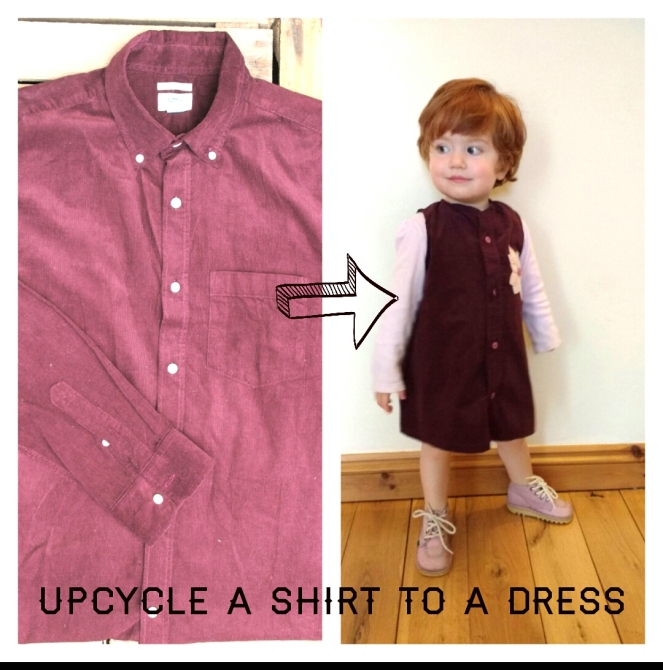
See also another blog post I wrote on how to upcycle a shirt into a children’s dress here. (Connie was younger then!!!!)